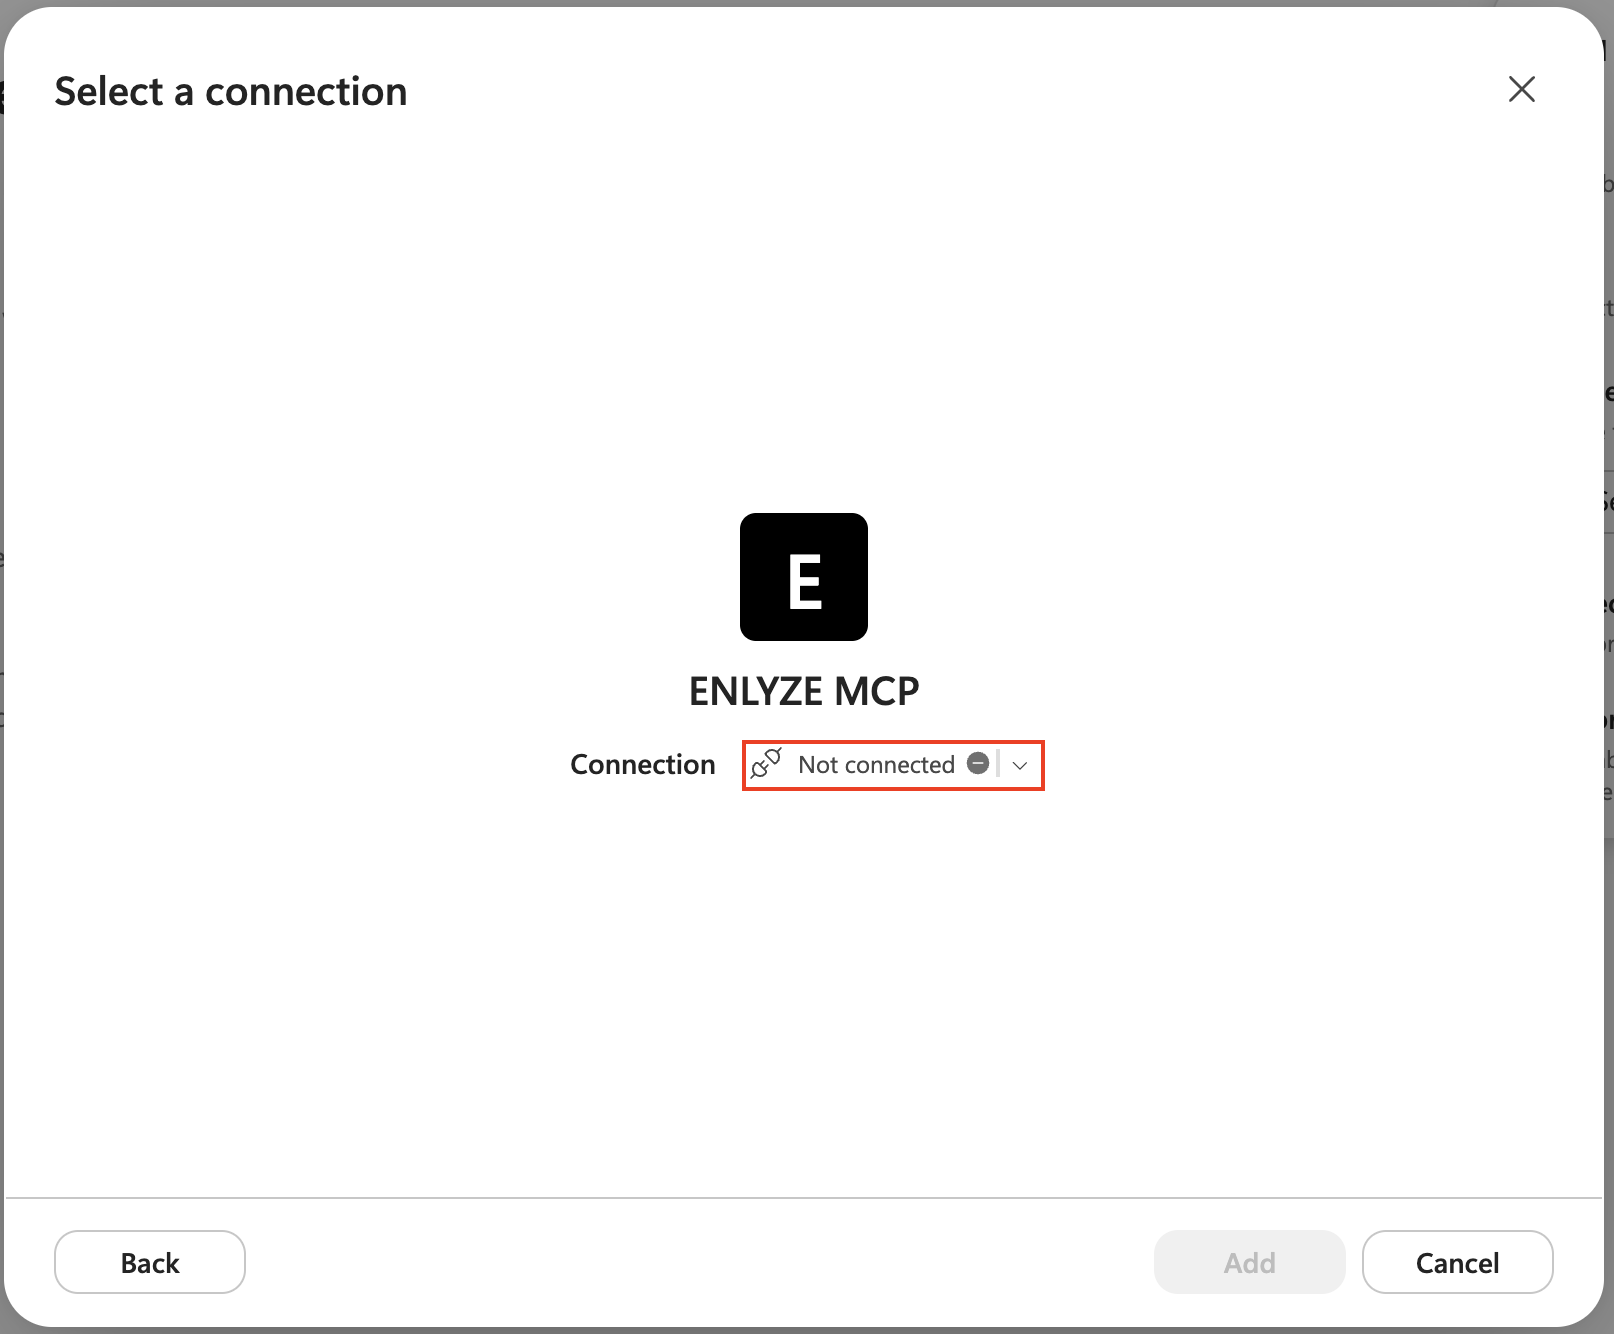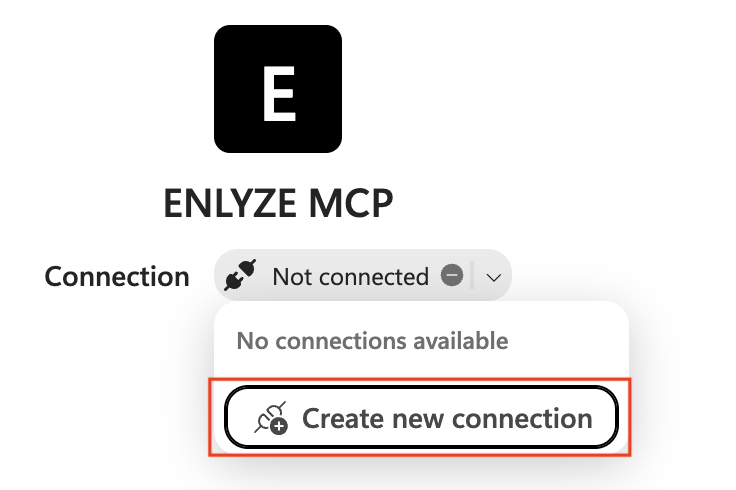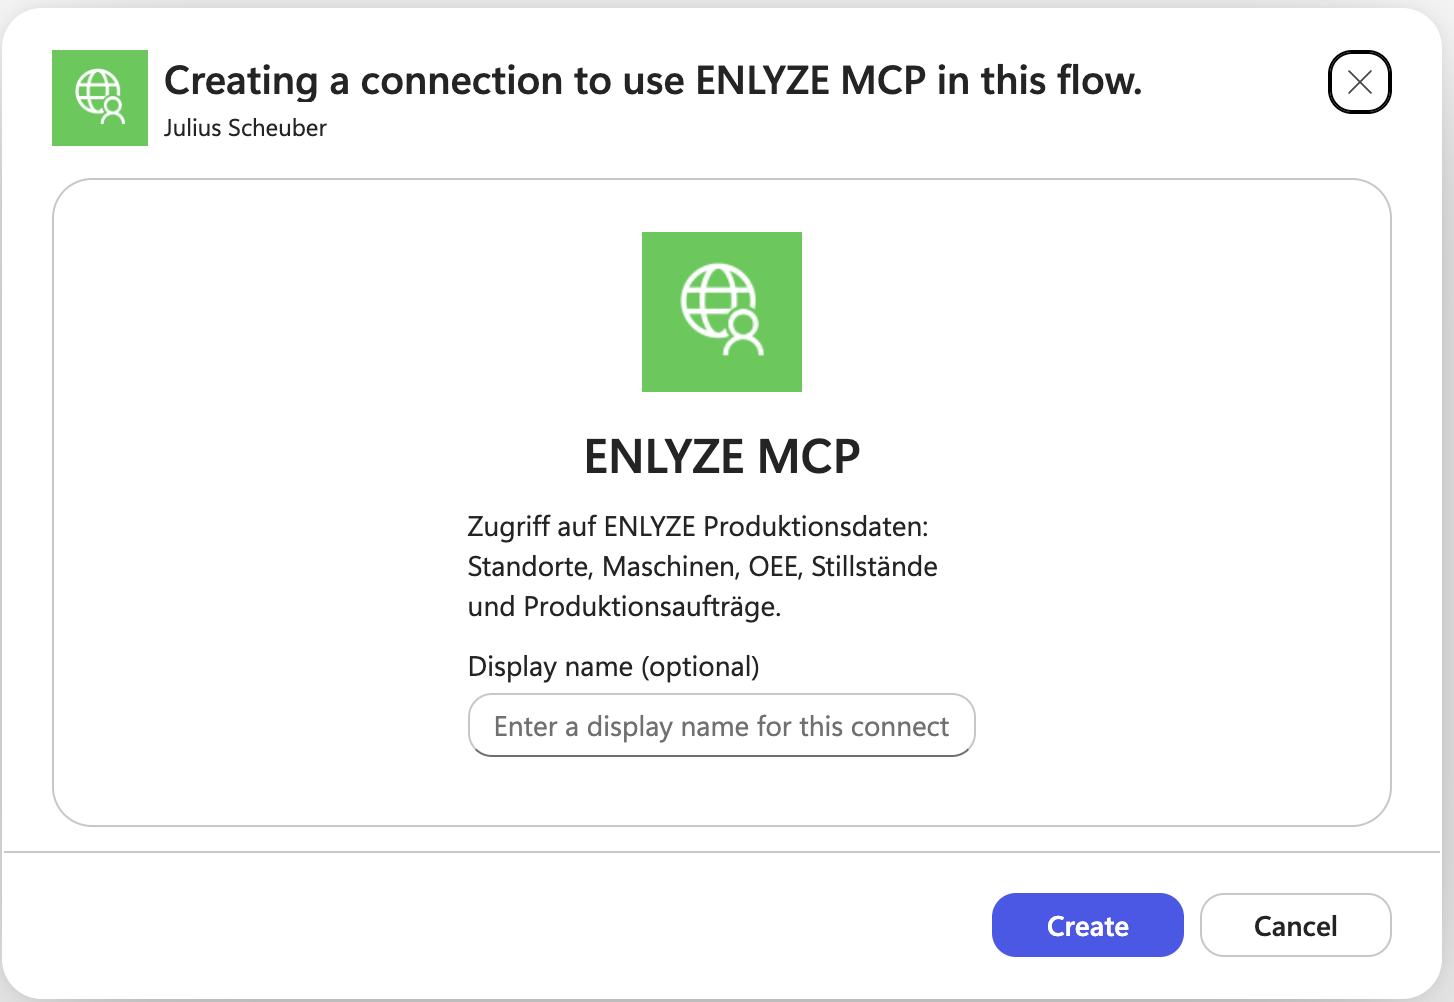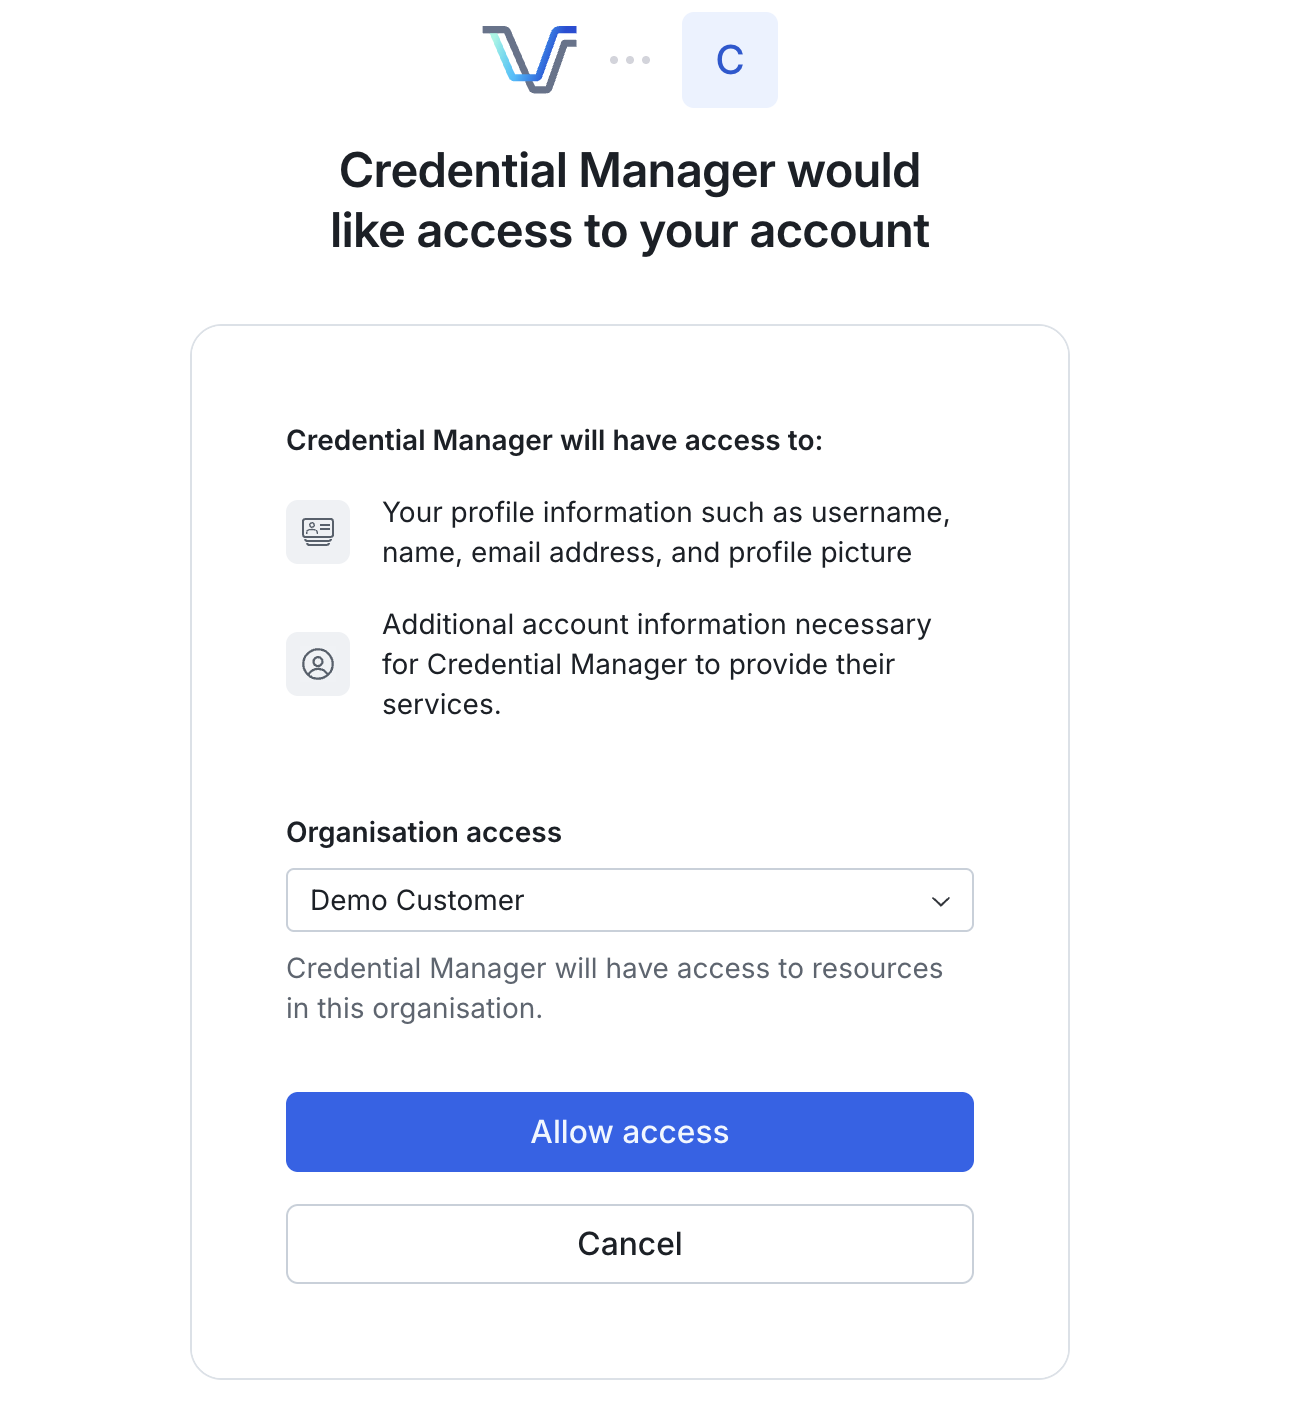
> For the complete documentation index, see [llms.txt](https://docs.enlyze.com/llms.txt). Markdown versions of documentation pages are available by appending `.md` to page URLs; this page is available as [Markdown](https://docs.enlyze.com/en/integrations/mcp/set-up-mcp-server.md).

# Set up ENLYZE MCP

In this guide, you'll connect your AI assistant to ENLYZE MCP. Select your assistant from the tabs below.

## Prerequisites

* **ENLYZE account** with active access to the ENLYZE Manufacturing Data Platform
* **One of the supported AI assistants**: Claude Desktop, Claude Code, Cursor, VS Code, OpenAI Codex, or another MCP-compatible client

## Setup

Select your AI assistant from the tabs below and follow the instructions to connect it to ENLYZE MCP.

{% tabs %}
{% tab title="Claude Desktop" %}

### Step 1: Open connector settings

In Claude Desktop, open **Customize → Connectors**, click the **+** button, and then select **Add custom connector**.

### Step 2: Add ENLYZE MCP

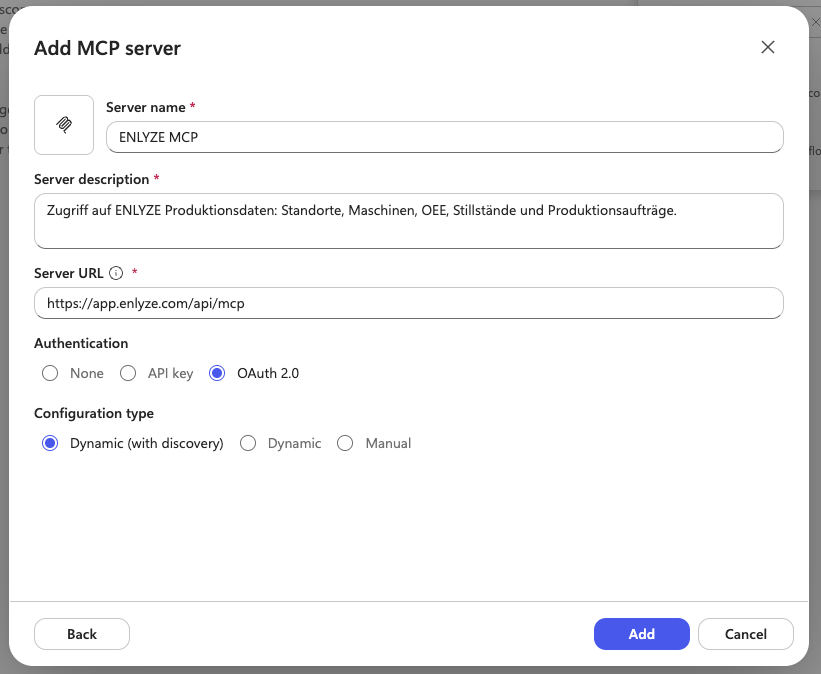
Enter a name (for example `ENLYZE`) and the server URL, then click **Add**:

* **URL**: `https://app.enlyze.com/api/mcp`

You don't need to fill in an OAuth Client ID or Secret under **Advanced settings**. Claude runs the OAuth flow for you.

{% hint style="info" %}
Custom connectors reach your MCP server from Anthropic's cloud, not from your computer, so the server must be reachable over the public internet. `app.enlyze.com` is, so this works out of the box.
{% endhint %}

### Step 3: Authenticate

The first time your AI assistant uses ENLYZE MCP, you'll be automatically redirected to a login screen. Follow these steps:

1. **Sign in**: Log in with your ENLYZE account
2. **Grant permission**: The consent screen asks you to allow your AI assistant to access your ENLYZE account and its production data
3. **Confirm**: Click **Approve** or **Accept** to allow access

Your client saves the OAuth2 token after granting permission. You won't need to log in again until the token expires. When it does, you'll be prompted to sign in again on your next request.

{% hint style="success" %}
Claude Desktop is now connected and will load available tools on your next chat.
{% endhint %}

#### Alternative: local bridge via `claude_desktop_config.json`

`claude_desktop_config.json` only supports local (stdio) servers, so a `{ "type": "http", "url": … }` entry won't work there. If you prefer a config-file setup, bridge the remote server with [`mcp-remote`](https://www.npmjs.com/package/mcp-remote) (requires Node.js):

```json
{
  "mcpServers": {
    "enlyze": {
      "command": "npx",
      "args": ["mcp-remote", "https://app.enlyze.com/api/mcp"]
    }
  }
}
```

{% endtab %}

{% tab title="Claude Code" %}

### Step 1: Add ENLYZE MCP

Run the following command in your terminal:

```bash
claude mcp add enlyze --transport=http https://app.enlyze.com/api/mcp
```

### Step 2: Start Claude Code and authenticate

Enter Claude Code:

```bash
claude
```

Once inside Claude Code, type the `/mcp` command to view available MCP servers. Claude Code will automatically redirect you to the OAuth2 consent screen:

1. **Sign in**: Log in with your ENLYZE account
2. **Grant permission**: Review the access request and allow your AI assistant to access your ENLYZE account and its production data
3. **Confirm**: Click **Approve** to complete authentication

Your token is stored locally. When it expires, you'll be prompted to sign in again on your next request.

{% hint style="success" %}
Claude Code is now connected. Use `/mcp` to see ENLYZE tools in your next session.
{% endhint %}
{% endtab %}

{% tab title="Cursor" %}

### Step 1: Add ENLYZE MCP

Based on your preference, choose one of the following options to add ENLYZE MCP to your Cursor setup:

#### Option A: Workspace MCP server

A workspace MCP server is only available for the project it is configured in. If it does not already exist, create a file under `.cursor/mcp.json` in your project directory. Cursor auto-detects a remote server from the `url`, so no `type` field is needed:

```json
{
  "mcpServers": {
    "enlyze": {
      "url": "https://app.enlyze.com/api/mcp"
    }
  }
}
```

#### Option B: Global MCP server

To make ENLYZE MCP available across all projects, open Cursor settings with `Cmd+Shift+J` / `Ctrl+Shift+J` and select **Tools & MCP → Home**. Add the same configuration as in Option A (Cursor stores it in `~/.cursor/mcp.json`).

### Step 2: Restart Cursor

Close Cursor and open it again to load the MCP connection.

### Step 3: Authenticate

The first time your AI assistant uses ENLYZE MCP, you'll be automatically redirected to a login screen. Follow these steps:

1. **Sign in**: Log in with your ENLYZE account
2. **Grant permission**: The consent screen asks you to allow your AI assistant to access your ENLYZE account and its production data
3. **Confirm**: Click **Approve** or **Accept** to allow access

Your client saves the OAuth2 token after granting permission. You won't need to log in again until the token expires. When it does, you'll be prompted to sign in again on your next request.

{% hint style="success" %}
Cursor is now connected. Available tools should appear in your next chat.
{% endhint %}
{% endtab %}

{% tab title="VS Code" %}

### Step 1: Enable GitHub Copilot in VS Code

Make sure you have the **GitHub Copilot** extension installed and logged in with your GitHub account.

### Step 2: Add ENLYZE MCP

Depending on your VS Code version and Copilot Agent support:

#### Option A: Workspace-scoped configuration (`.vscode/mcp.json`)

Create a file `.vscode/mcp.json` in your project directory:

```json
{
  "servers": {
    "enlyze": {
      "type": "http",
      "url": "https://app.enlyze.com/api/mcp"
    }
  }
}
```

#### Option B: User configuration (`mcp.json`)

Run the **MCP: Open User Configuration** command (`Cmd+Shift+P` / `Ctrl+Shift+P`) to open your user `mcp.json`, then add the server using the same shape as Option A:

```json
{
  "servers": {
    "enlyze": {
      "type": "http",
      "url": "https://app.enlyze.com/api/mcp"
    }
  }
}
```

### Step 3: Restart VS Code

Close VS Code and open it again. Open the Copilot Chat view (`Ctrl+Cmd+I` on macOS, `Ctrl+Alt+I` on Windows/Linux). MCP tools should now be available.

### Step 4: Authenticate

The first time your AI assistant uses ENLYZE MCP, you'll be automatically redirected to a login screen. Follow these steps:

1. **Sign in**: Log in with your ENLYZE account
2. **Grant permission**: The consent screen asks you to allow your AI assistant to access your ENLYZE account and its production data
3. **Confirm**: Click **Approve** or **Accept** to allow access

Your client saves the OAuth2 token after granting permission. You won't need to log in again until the token expires. When it does, you'll be prompted to sign in again on your next request.

{% hint style="success" %}
VS Code Copilot is now connected to ENLYZE.
{% endhint %}
{% endtab %}

{% tab title="Codex" %}

### Step 1: Install Codex CLI

Make sure you have the Codex CLI installed. See the [Codex documentation](https://learn.chatgpt.com/docs/codex/cli) for installation instructions.

### Step 2: Add ENLYZE MCP

Run the following command to register ENLYZE MCP:

```bash
codex mcp add enlyze --url https://app.enlyze.com/api/mcp
```

Alternatively, add it directly to `~/.codex/config.toml`:

```toml
[mcp_servers.enlyze]
url = "https://app.enlyze.com/api/mcp"
```

### Step 3: Authenticate

Run the login command to complete the OAuth2 flow:

```bash
codex mcp login enlyze
```

This opens a browser window where you sign in with your ENLYZE account and grant access. Your token is stored locally. When it expires, you'll be prompted to sign in again on your next request.

{% hint style="success" %}
Codex is now connected. The ENLYZE tools are available in your next Codex session.
{% endhint %}
{% endtab %}

{% tab title="Other MCP clients" %}
Any MCP-compatible client (e.g., custom applications, agent frameworks) can connect to ENLYZE MCP through the same HTTP interface.

### Configuration

Ensure your client framework supports these parameters:

* **MCP Server URL**: `https://app.enlyze.com/api/mcp`
* **Transport**: `http`
* **Authentication**: OAuth2 (automatically on first connection)

### Authentication

When your client first connects to ENLYZE MCP, you'll be automatically redirected to a login screen. Follow these steps:

1. **Sign in**: Log in with your ENLYZE account
2. **Grant permission**: The consent screen asks you to allow your AI assistant to access your ENLYZE account and its production data
3. **Confirm**: Click **Approve** or **Accept** to allow access

Your client saves the OAuth2 token after granting permission. You won't need to log in again until the token expires. When it does, you'll be prompted to sign in again on your next request.

For more information on the MCP specification, visit [Model Context Protocol](https://modelcontextprotocol.io/).

{% hint style="success" %}
Your MCP client is now connected to ENLYZE.
{% endhint %}
{% endtab %}
{% endtabs %}

## Verify it worked

Ask your AI assistant a simple question to confirm ENLYZE MCP is connected, for example "Show me all sites". In Claude Code, you can also type `/mcp` and confirm that the `enlyze` server and its tools appear. In Claude Desktop, you'll find connected connectors under **Customize → Connectors**.

## Available tools

ENLYZE MCP gives your AI assistant access to everything available in the ENLYZE platform: machines, sites, variables, time series, OEE, downtimes, production runs, products, data sources, and more. For the full list of available operations and parameters, see the [ENLYZE API reference](https://app.enlyze.com/api/v2/docs).

## Troubleshooting

<details>

<summary><strong>401 Unauthorized: OAuth2 authentication failed</strong></summary>

**Symptom**: Client shows errors like "Unauthorized" or "Authentication failed"

**Causes**:

* OAuth2 token has expired
* Permission was not granted or has been revoked
* You are not logged in

**Solution**:

1. Try using ENLYZE MCP again. You should be redirected to the login screen
2. Make sure you're logging in with the correct ENLYZE account
3. Grant access on the permission screen
4. If the error persists, restart your AI assistant and try again

</details>

<details>

<summary><strong>Connection refused: Server unreachable</strong></summary>

**Symptom**: Client shows "Connection refused" or "Network error"

**Causes**:

* No internet connection
* The URL `https://app.enlyze.com/api/mcp` is mistyped
* ENLYZE server is temporarily unavailable

**Solution**:

1. Check your internet connection
2. Verify the URL is exactly `https://app.enlyze.com/api/mcp` (with `https://` and no trailing slash)
3. Try opening the URL in your browser. You should get an HTTP 401 or 405 response (that's normal and indicates the server is reachable)
4. If the server is down, contact [https://github.com/enlyze/enlyze-docs/blob/main/en/help/README.md](https://github.com/enlyze/enlyze-docs/blob/main/en/help/README.md "mention")

</details>

<details>

<summary><strong>Tools not visible: MCP server not loading</strong></summary>

**Symptom**: Client shows no available tools or ENLYZE tools don't appear

**Causes**:

* Client wasn't restarted after configuration
* Configuration file has JSON syntax errors
* Client doesn't support MCP (older version)

**Solution**:

1. Close your AI assistant completely (not just minimize) and open it again
2. Check your configuration file for JSON errors. Use an online JSON validator
3. Verify the server entry matches the instructions in your client's tab above
4. If the client doesn't support MCP, upgrade to the latest version or use a different client

</details>

<details>

<summary><strong>Timeout: Query takes too long</strong></summary>

**Symptom**: Chat freezes or shows "Request timeout"

**Causes**:

* Query is too complex or covers too much data
* Network is slow
* Server is overloaded

**Solution**:

1. Try a simpler query first, e.g., "Show me all sites"
2. Limit data ranges with dates, e.g., "Show me data from today"
3. Check your network connection
4. If timeouts occur regularly, contact [https://github.com/enlyze/enlyze-docs/blob/main/en/help/README.md](https://github.com/enlyze/enlyze-docs/blob/main/en/help/README.md "mention")

</details>